The stm32 register is more difficult to remember, so the official package of two sets of library functions. One is a standard library, but there is no official update on F7 and it may not be maintained in the future. The other is the HAL library. The HAL library has a high program portability, and basically does not have to deal with registers. It is also easy to learn with little white hardware.
Because we use stm32F767 of punctuality atom, punctuality mdk5 method of new construction, we are not particularly like. In addition, there is less Chinese data on the HAL database, but atomic, wildfire, hard rock, and slightly snowy. The use of Cubemx to develop F7 and even less about stm32 transplantation. Of course, tossing is also essential, I decided to use stm32cubeMx + sw4stm32 way of development, due to technical familiarity may still be used in some places mdk5, but also hope understanding.
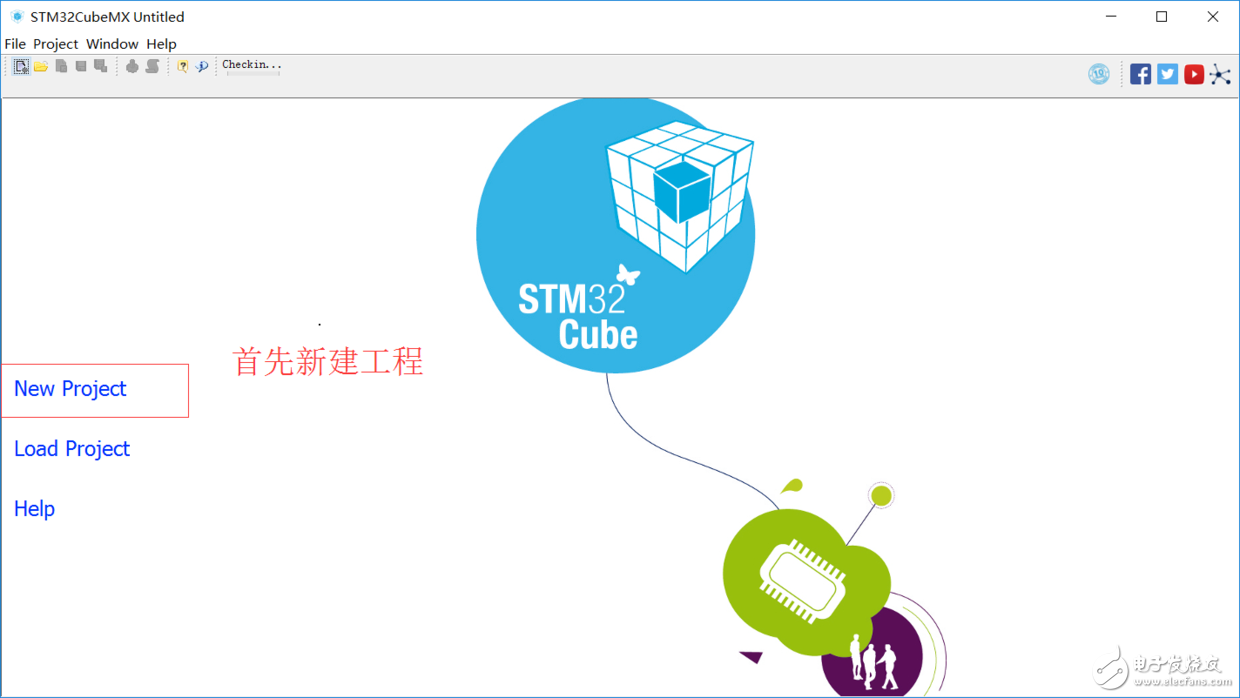
The following will explain in detail the procedure for the stm32 marquee:
First of all, the installation of the software is not detailed, Baidu's information is also very full.
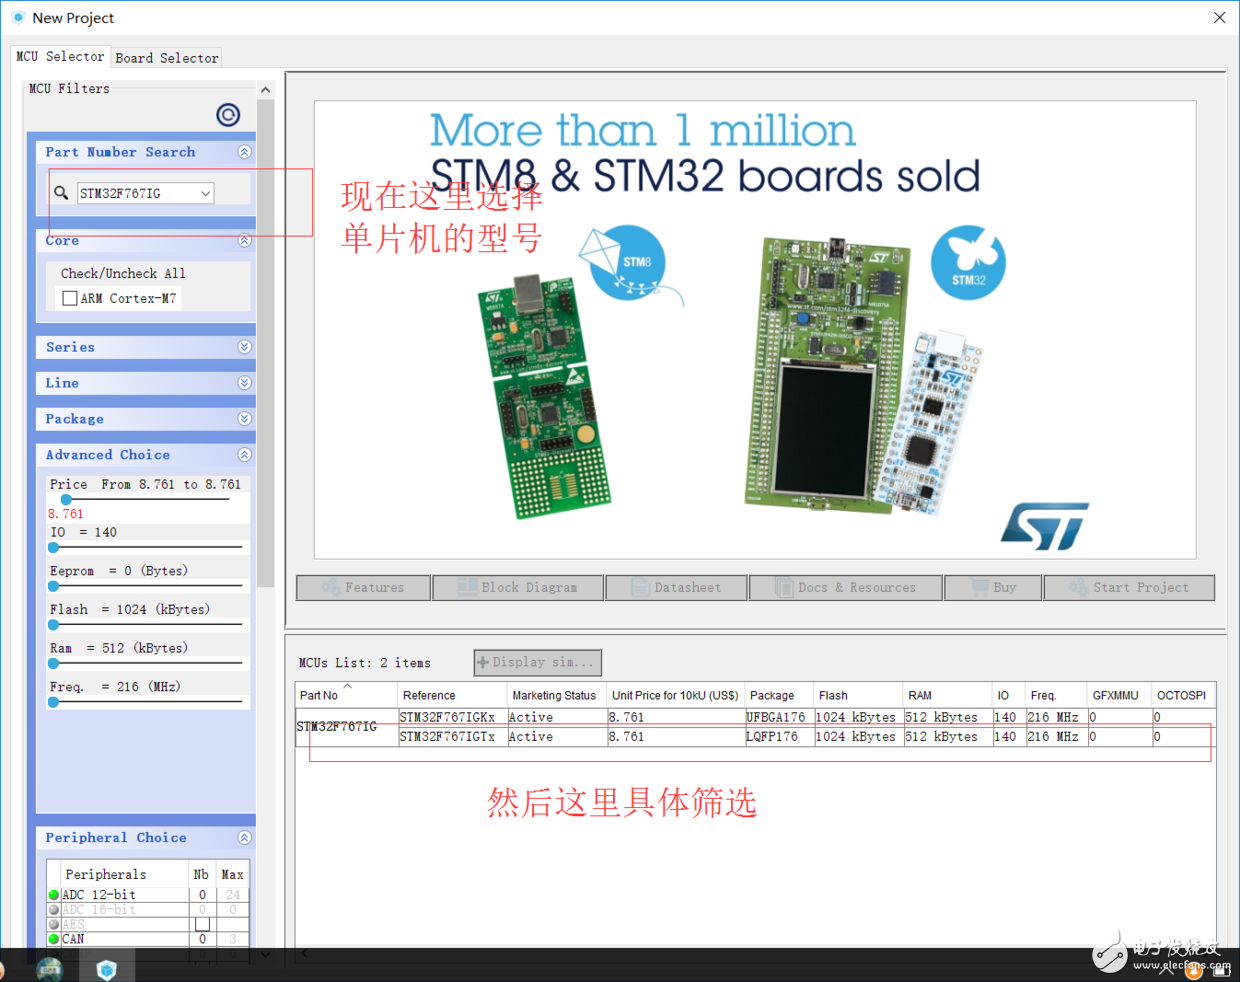
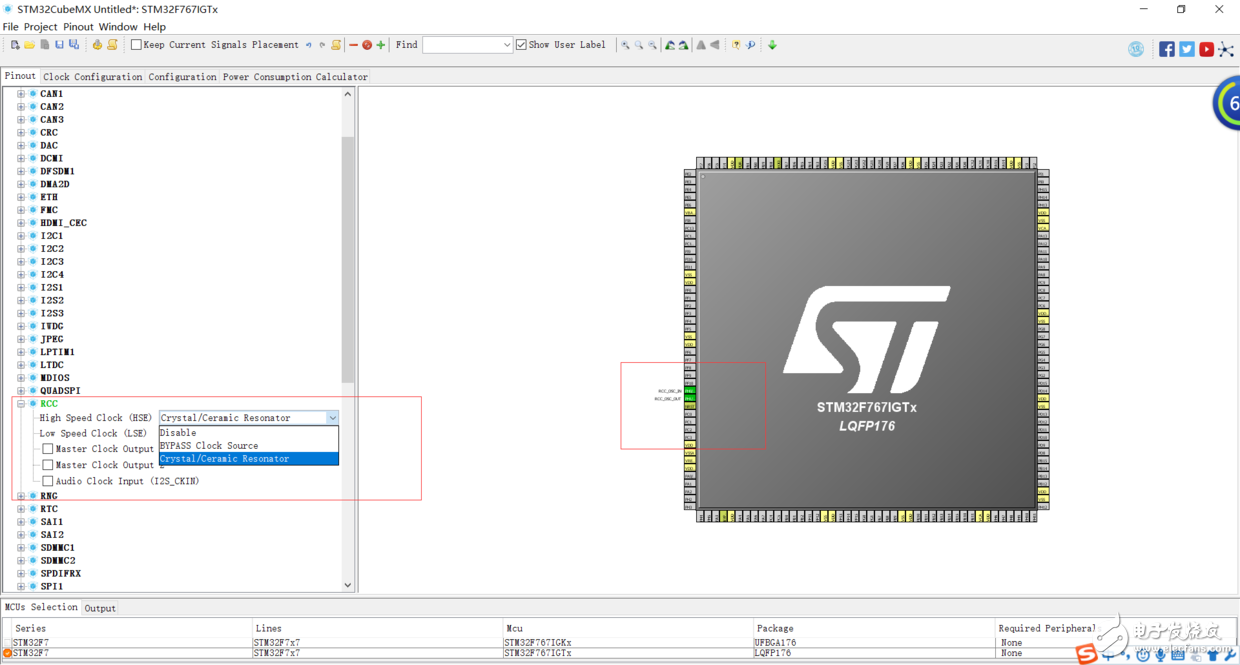
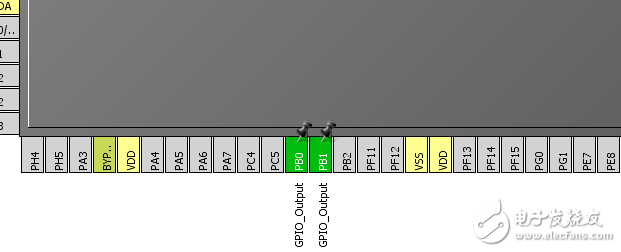
Enable RCC and corresponding GPIO configuration RCC, then you will find the corresponding pin has been highlighted.
Click on the LED lamp's pin. Set to output mode because of the output.
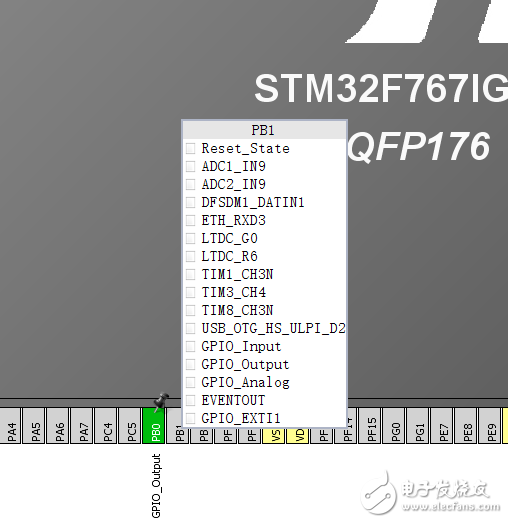
The following configurable GPIOs:
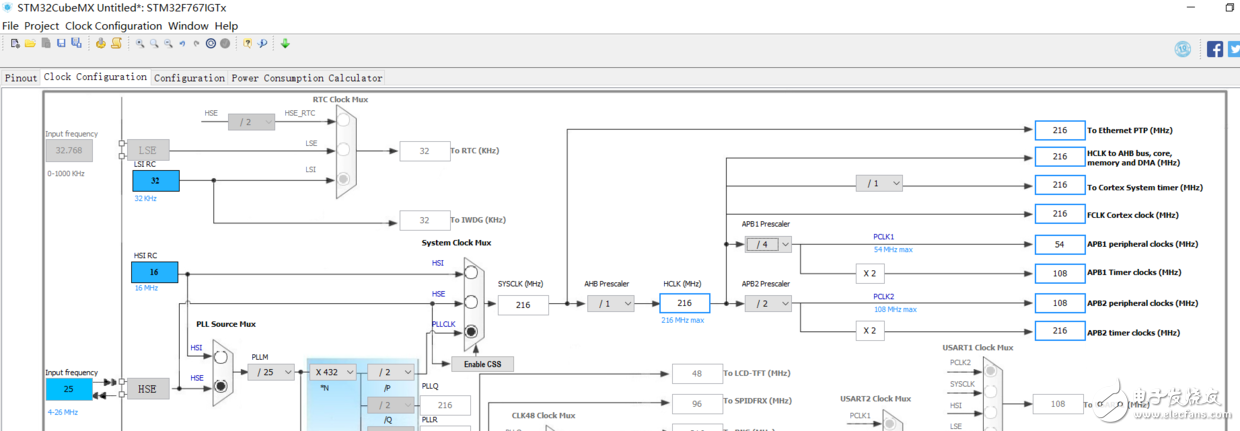
Click clock configuraTIon
When using the clock tree, pay attention to the frequency of the system
F767 is 216M, other microcontrollers should be flexible.
Enable GPIO
Click configuraTIon
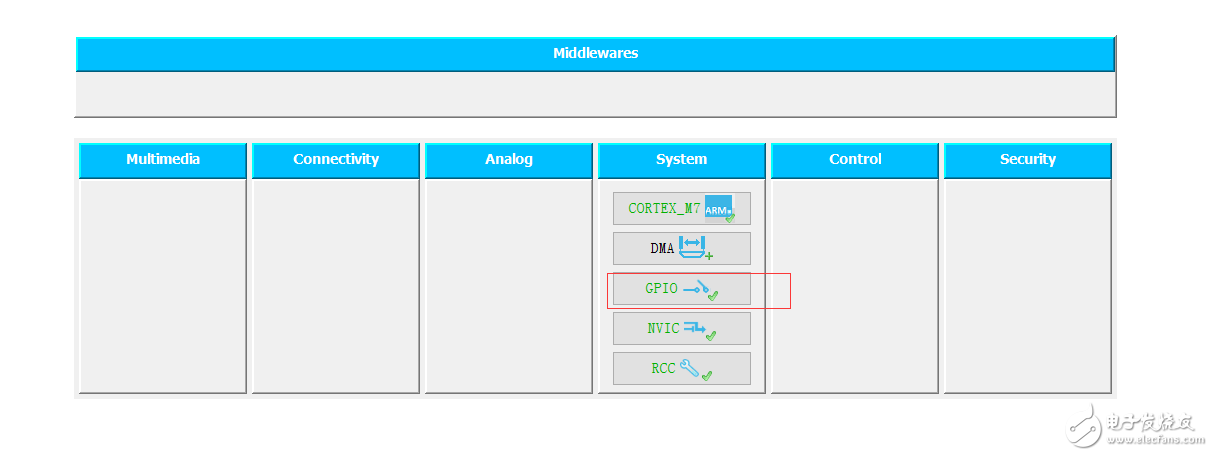
Click on the GPIO here and the lower screen pops up.
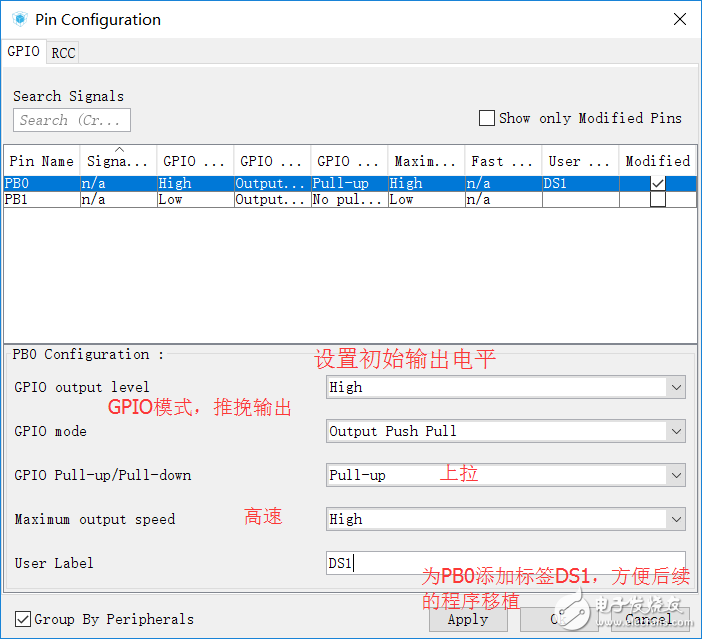
The setting of the tag here is on the one hand the code is in line with the human way of thinking, on the one hand the transplantation of different SCMs.
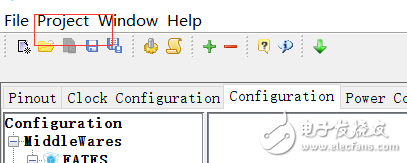
After everything is configured, you can generate the project. Click project--setTIngs in the upper left corner.

Then click on code gererarot to configure the format of the output file and the added library file.
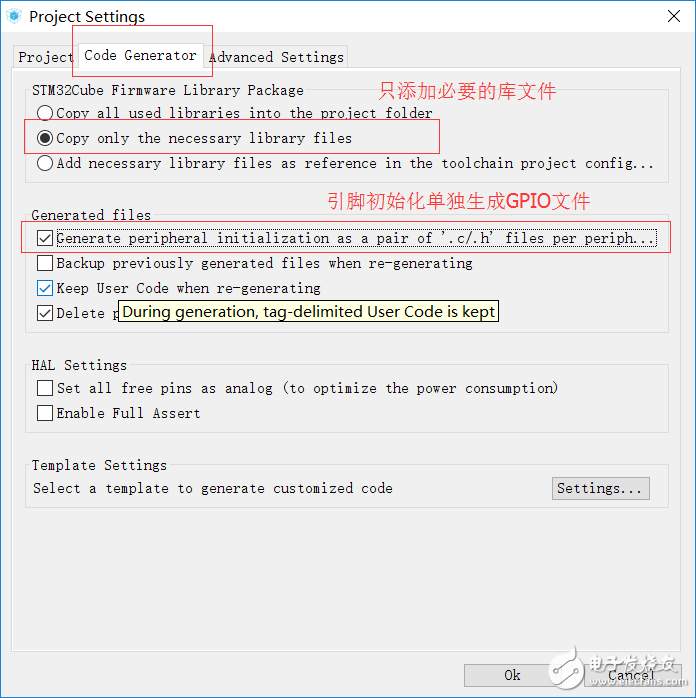
Click ok to save. Then the next step to generate the code, project-generator code on it. Generator report can generate documentation of the configuration file. Not introduced first.
Generating project:
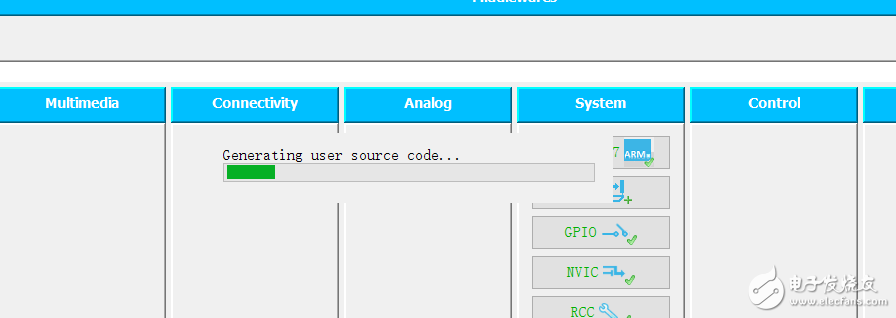
Click open project after generating:

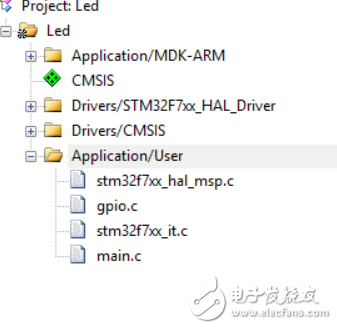
Here is the generated directory tree:
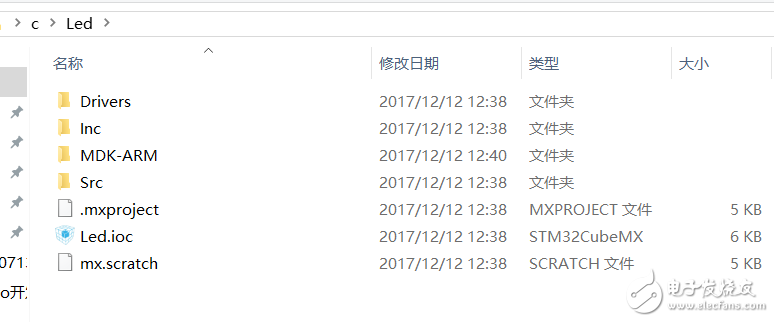
The following is the generation of the file in the project:
/* Includes ----------------------------------------------- -------------------*/
#include "gpio.h"
/* USER CODE BEGIN 0 */
/* USER CODE END 0 */
/*------------------------------------------------ ----------------------------*/
/* Configure GPIO */
/*------------------------------------------------ ----------------------------*/
/* USER CODE BEGIN 1 */
/* USER CODE END 1 */
/** Configure pins as
* Analog
* Input
* Output
* EVENT_OUT
* EXTI
*/
Void MX_GPIO_Init(void)
{
GPIO_InitTypeDef GPIO_InitStruct;
/* GPIO Ports Clock Enable */
__HAL_RCC_GPIOH_CLK_ENABLE();
__HAL_RCC_GPIOB_CLK_ENABLE();
/*Configure GPIO pin Output Level */
HAL_GPIO_WritePin(DS1_GPIO_Port, DS1_Pin, GPIO_PIN_SET);
/*Configure GPIO pin Output Level */
HAL_GPIO_WritePin(DS0_GPIO_Port, DS0_Pin, GPIO_PIN_RESET);
/*Configure GPIO pins : PBPin PBPin */
GPIO_InitStruct.Pin = DS1_Pin|DS0_Pin;
GPIO_InitStruct.Mode = GPIO_MODE_OUTPUT_PP;
GPIO_InitStruct.Pull = GPIO_PULLUP;
GPIO_InitStruct.Speed ​​= GPIO_SPEED_FREQ_HIGH;
HAL_GPIO_Init(GPIOB, & GPIO_InitStruct);
}
See below main.c
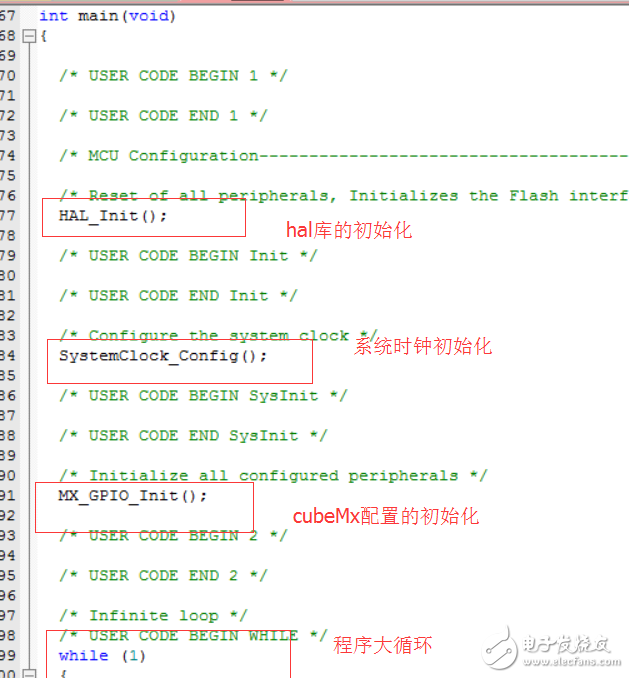
Add the following code in the main program:
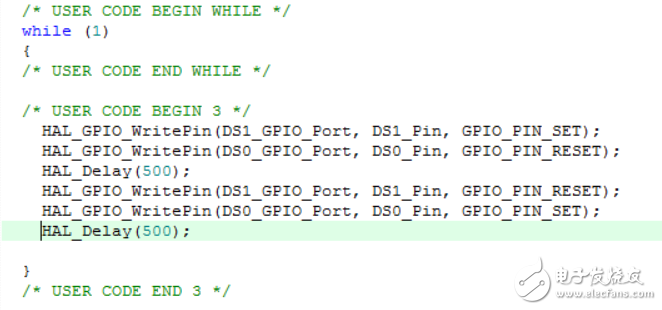
HAL_GPIO_WritePin(DS1_GPIO_Port, DS1_Pin, GPIO_PIN_SET);
HAL_GPIO_WritePin(DS0_GPIO_Port, DS0_Pin, GPIO_PIN_RESET);
HAL_Delay(500);
HAL_GPIO_WritePin(DS1_GPIO_Port, DS1_Pin, GPIO_PIN_RESET);
HAL_GPIO_WritePin(DS0_GPIO_Port, DS0_Pin, GPIO_PIN_SET);
HAL_Delay(500);
Since the tag was used when the new project was created, DS1_GPIO_Port is the original GPIOB, DS1 is GPIO_PIN_0, SET is set, which is high, and RESET is reset, that is, low.
The unlabeled statement is this:
HAL_GPIO_WritePin(GPIOB, GPIO_PIN_0, GPIO_PIN_SET);
The following compilation, followed by burning just fine.
Specialized Slip Ring,Slip Ring Rotary Joint,Slip Ring Induction Motor Rotor,Induction Motor Slip Ring
Dongguan Oubaibo Technology Co., Ltd. , https://www.sliprobs.com