DIY is not all pragmatic, but we will also pursue gorgeous visual effects. For example, this ç› arc lamp not only has a shiny metal gear appearance, but also can spray three rotating red plasma arcs! Is there anything more cool than this?
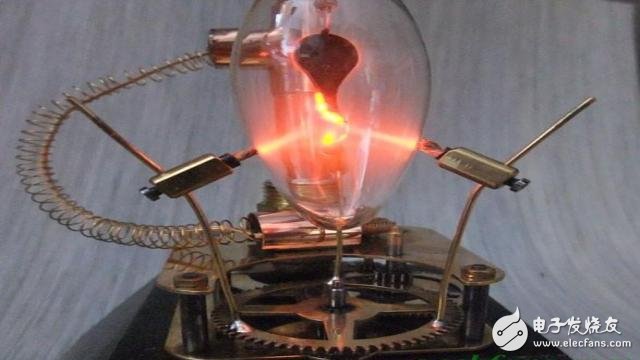
Hello, I am a steampunk fan from Germany, this is the first piece I brought, the plasma stream that rotates in the bulb. Above is the demo video I shot. You can find more pictures and related materials on my German website Steampunk Design, which is available in the Werkstatt and Werkstatt/Plasma Wirbler entries!
1. Tools and materials are as follows
Disposable camera
Xenon bulb
Adjustable voltage power supply
Old clock
Small motor
bowl
screwdriver
Welding pen
2 Find the right camera
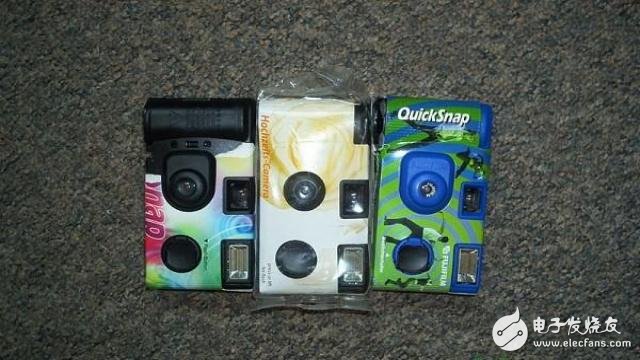
First you have to find a one-time camera, Fuji camera or other brands in the picture. If you buy a different kind of camera, you may find that it is using a 7 (AAA) battery instead of the 5 (AA) battery I saw. In this case, the flash pad's power solder joint will be somewhere else. .
DIY steampunk style plasma arc lamp
After removing the wrapper, you will see a plastic camera with no screws on the surface.
3 Unpacking the case

Open or loosen the plastic clip on each side directly and open the camera.
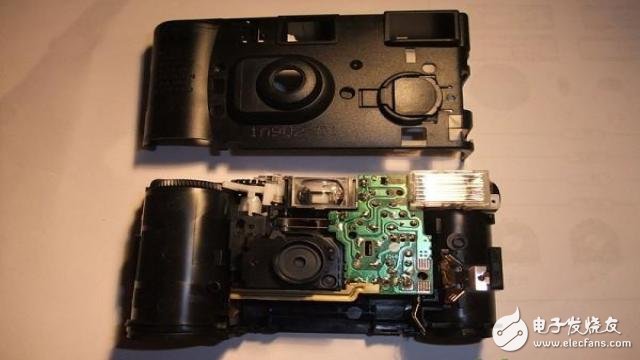
Now you can drag the flash circuit module out.
note! At this time, the capacitor may be charged. If your finger touches a place on the board that you shouldn't touch, it will be slammed.
4 Remove some parts
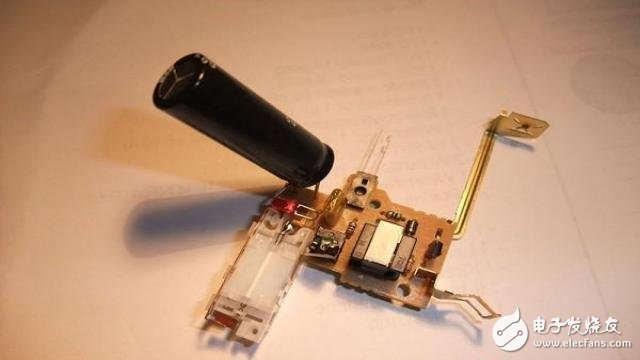
note! Before doing anything, first short-circuit the capacitor with a screwdriver!
Then you need to remove the flash, capacitor and flash switch, I got them with a soldering pen.
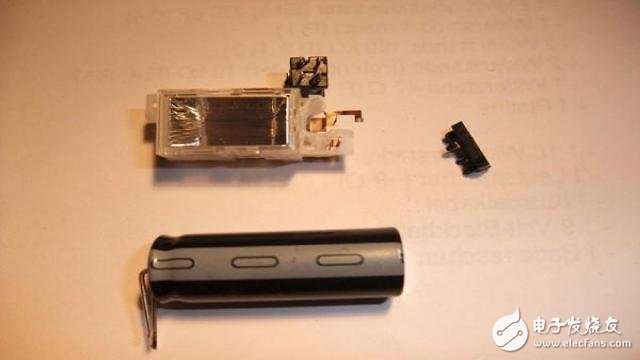
After the disassembly, the board looks like this.
5 Find the right solder joint
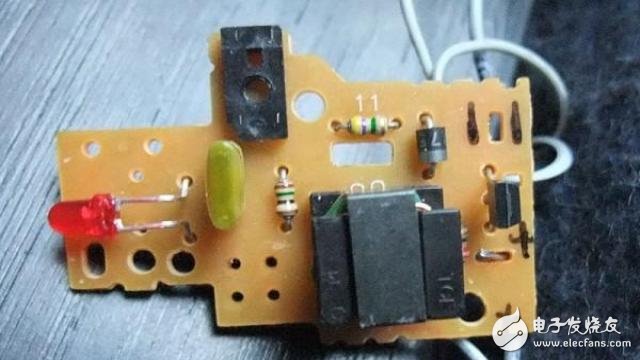
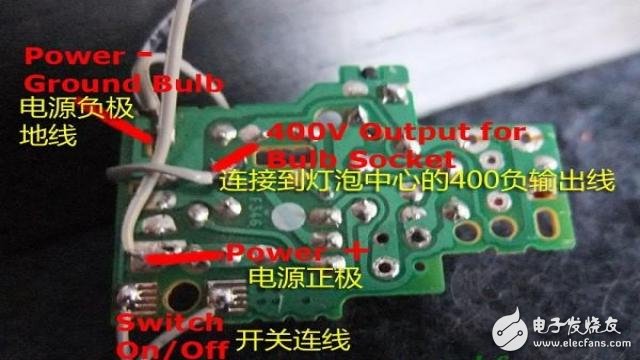
You need to solder 6 wires on the back of the board. I hope this icon will help.
I used a voltage-regulated power supply to power the circuit. Do not use more than 3V power supply, otherwise it will burn out! The power consumption of this circuit is about 350mA. Then you can use two wires to pull the power switch out of the module, which is much more convenient than shorting two solder joints on the board to turn the power on/off.
6 Find the correct type of bulb
Not all bulbs can illuminate in this circuit, only those special bulbs filled with helium can produce glow discharges, creating a beautiful plasma stream. The red glow from the light bulb I used flashed like a candle, and different types of bulbs can produce a variety of effects.
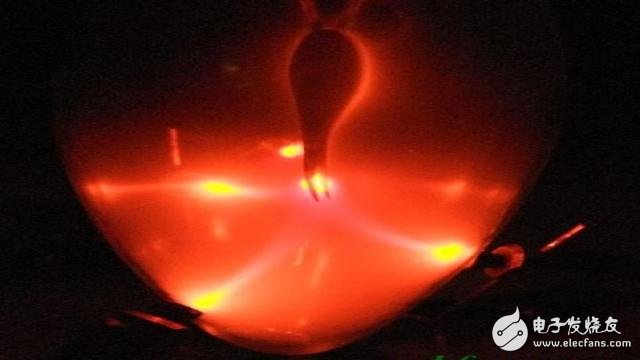
The output line of the high voltage coil is connected to the center contact of the bulb, and the three mechanical arms outside the bulb are connected to the ground.
7 Realize your own design!
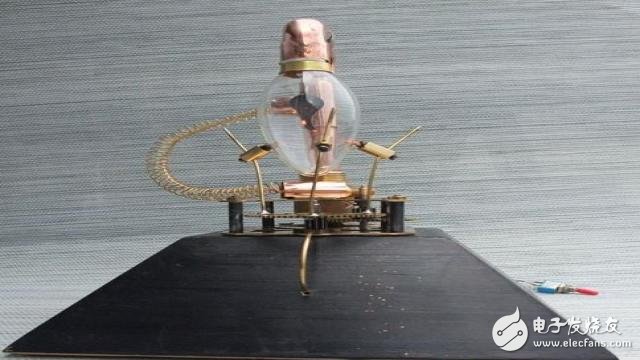
After the light bulb is normally illuminated, you need to come up with a beautiful overall design to match it.
I removed a set of reduction gears from the old clock and then used a small motor in the CD to drive it.
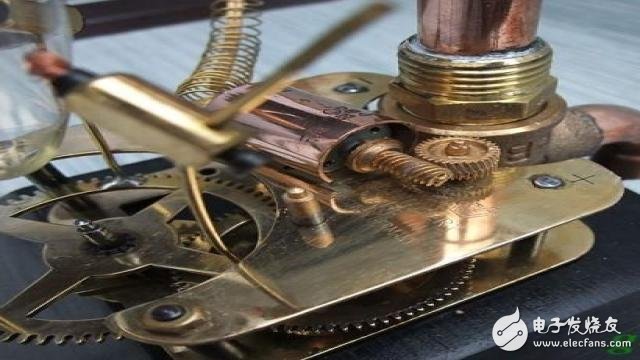
All the components are placed on a flipped bowl (the circuit is in the bowl), and then three rotating plasma streams are settled! Next I plan to increase the speed control unit and the plasma power control section.
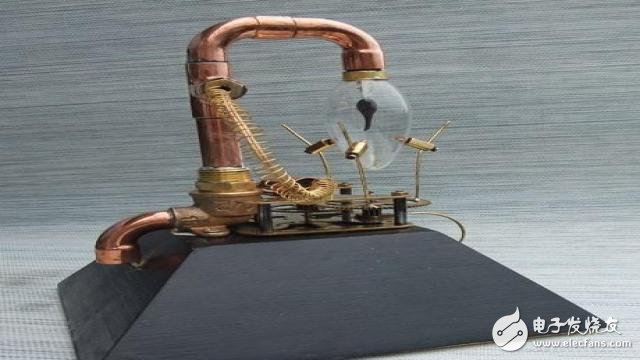
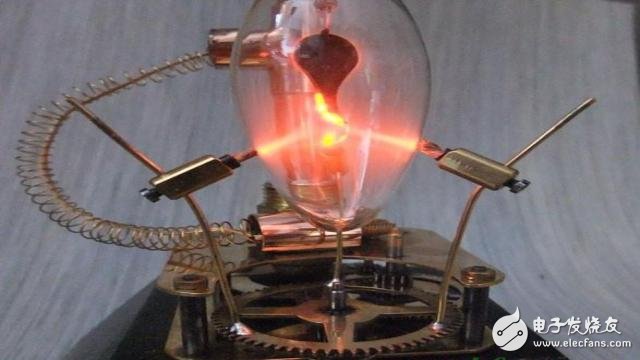
carry out!
Now is the time to DIY your own work, I wish you good luck!
Note: The center point of the bulb to the board output is 400V high. . . Pay attention to safety in production and display! !
Reloj Inteligente
Reloj Inteligente
everyone enjoys luck , http://www.eeluckwatch.com