Today, we will teach you how to install exhaust wrap, the necessary tools, and the best practices to maximise your purchase!
There are a few tips and tricks along the way that always help when installing exhaust wrap, so read all the way through, and you will be a pro by the end of it.
In this guide, I will show photos of the wrap installed on our Honda Civic B-Series turbo manifold, but the same process will apply to anything you install it on, whether it's an exhaust manifold or downpipe.
If you would rather watch the installation video, then I have added this underneath for you to watch. Remember to subscribe to our YouTube channel to see more videos like this.
Tools Needed To Install Your Exhaust Wrap
To make your life much easier, you need a few things before installing your exhaust heat wrap. Some parts here are optional, but we always recommend going with everything to get it installed as fast and efficiently as possible.
To determine how much wrap you will need, visit our Exoracing exhaust wrap calculator. Enter your pipe or manifold dimensions to quickly and easily calculate the length you need.
Products Needed:
- Exhaust Wrap
- Stainless Steel Cable Ties
Tools Needed:
- Gloves
- Scissors
- A spray bottle or bowl filled with water
- Plyers
- Side cutting pliers
1. Prepare And Cut The Exhaust Wrap
First, you should put on the gloves, remove the wrap from the packaging, and gather all the tools you will need for the installation.
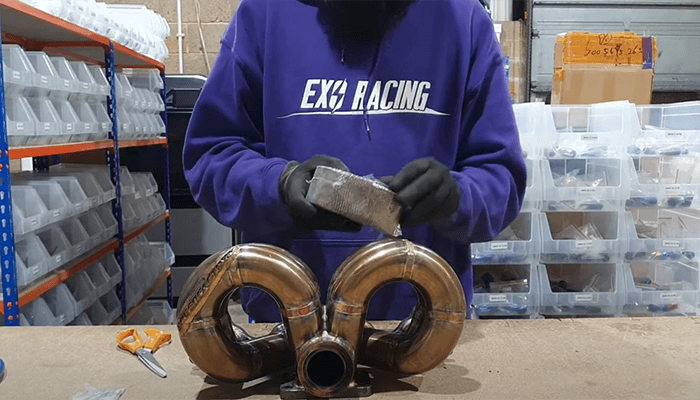
Gloves are a very important part of this process, as exhaust heat wrap's fibreglass base is known to cause skin irritation. Using gloves will save you from really annoying itching, trust me!
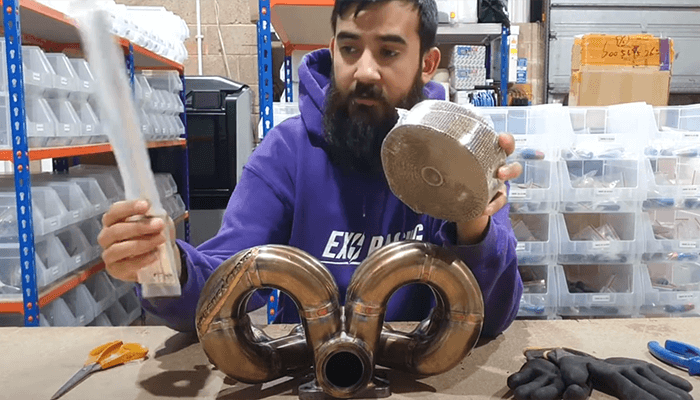
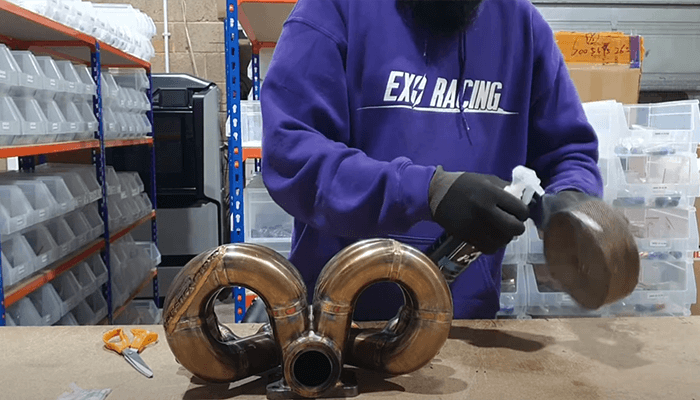
Spray or dunk the exhaust wrap using either the spray bottle or the bowl and squeeze it in your hands to make it more pliable. This will make installation easier and allow you to pull it tighter around the manifold or downpipe.
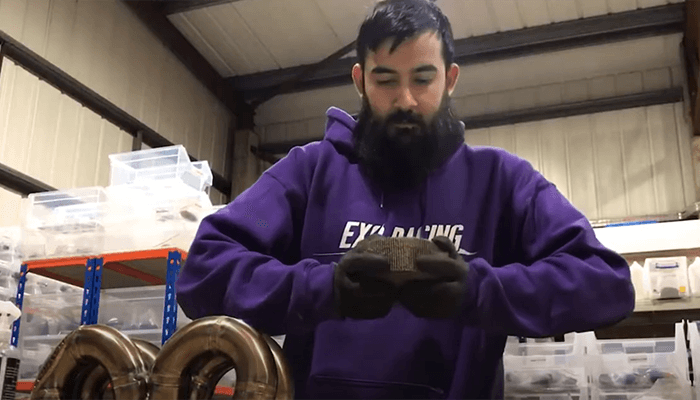
The ends of the wrap are often a little frayed, so before installation, cut them off with scissors for a neat edge.
Measure the correct amount of heat wrap you will need by either using our exhaust wrap calculator or wrapping it around the manifold or downpipe in a single loop, counting the number of loops you will need to reach the end of the pipe.
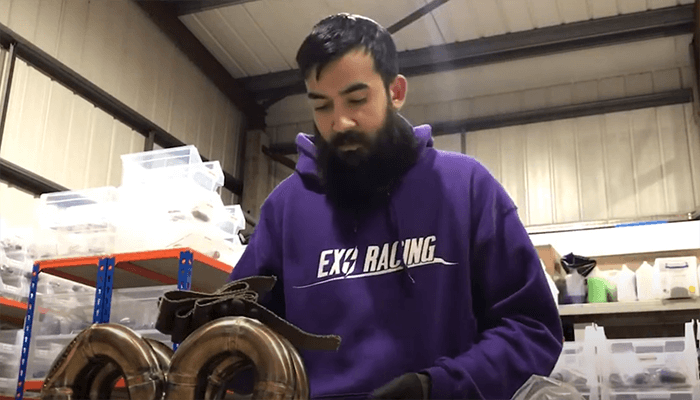
When measuring this, make sure to leave a half-inch or 10mm-20mm overlap to ensure full coverage of the wrap. This will also help the exhaust wrap stay in place while you are installing it.
Cut the exhaust heat wrap to the correct length and repeat this for as many runners or pipes as possible. You can now move on to installing it.
2. Installation
Now, let's install the wrap on the pipe or manifold. You will want to start with a 45-degree fold on the end of the wrap. This will ensure the wrap holds tightly and does not slip while running it down the pipe.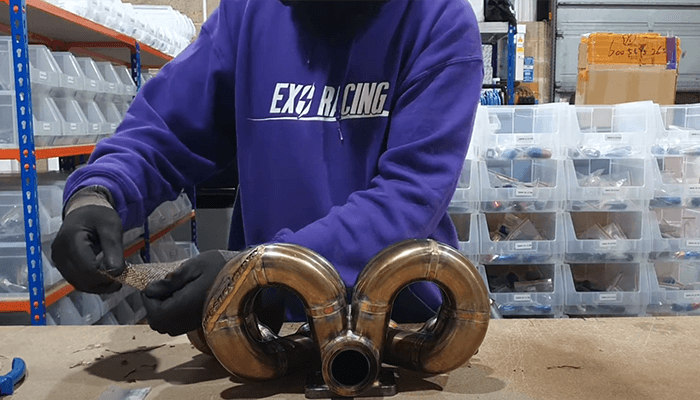
Pull tightly and wrap it around the manifold or downpipe until you reach the endpoint. If the wrap starts to dry out, spray it again using the bottle of water to ensure the tightest seal possible.
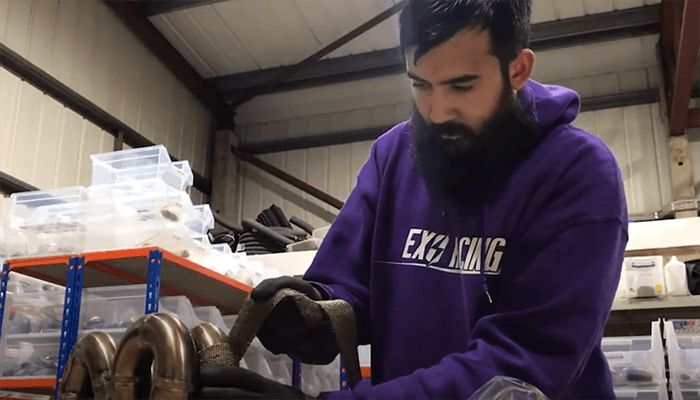
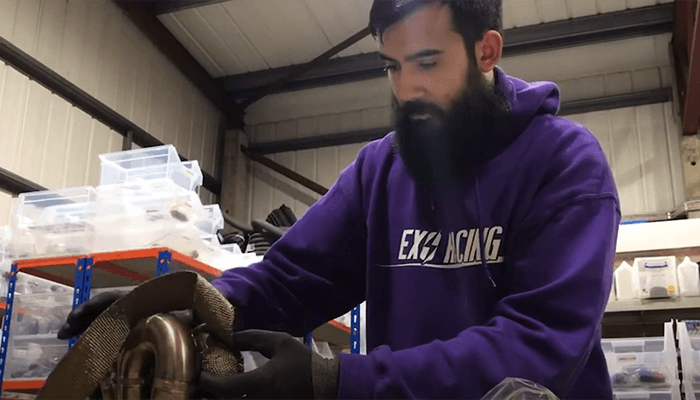
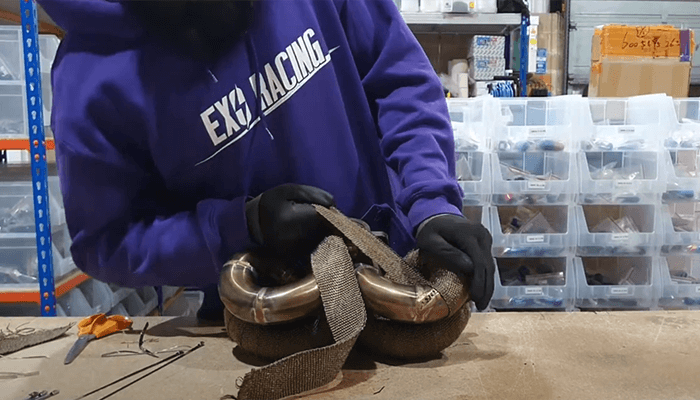
When you are happy the wrap is tight, take one of the stainless steel cable ties and loop it around one of the ends, pulling tightly with the pliers. If you are installing this on an exhaust manifold, make sure the cable ties do not cover the exhaust stud ports.
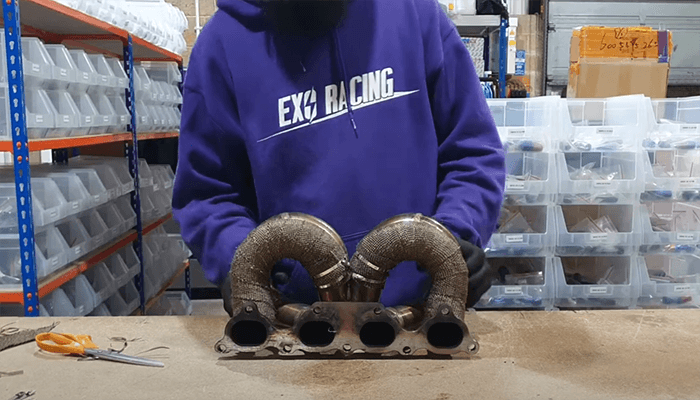
This happened to me on the first manifold I ever wrapped, and I had to cut the ties and redo it!
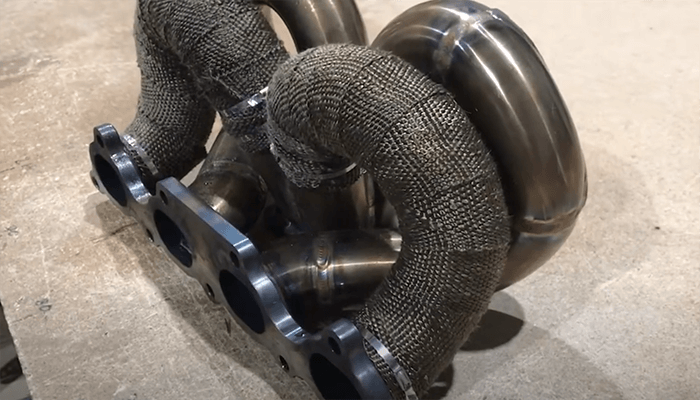
Once the stainless cable ties are tight, cut the excess off using the side cutters and repeat the same process for the Other end. If you are wrapping a downpipe, you will be done at this point, but if you install it on an exhaust manifold, repeat the steps here until you have covered the entire manifold.
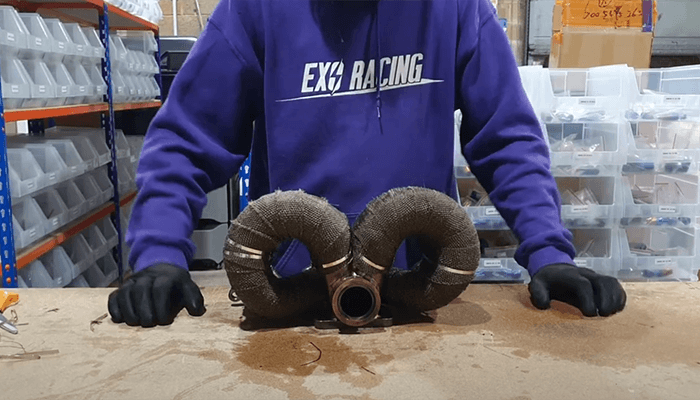
You are all done! You can now install the exhaust manifold or downpipe back on to the car and enjoy your lower engine bay temperatures.
Frequently Asked Questions:
Q. Why is my exhaust wrap smoking?
A. Heat wrap will always smoke on the first few heat cycles. This is the process of burning off the moisture in the wrap or any excess coatings on the exhaust wrap from the factory. This is completely normal and nothing to worry about.
Q. Will exhaust wrap make my exhaust go rusty?
A. Just fitting the Heat wrap itself will not make the exhaust go rusty; generally, this would only happen if you wrap so far back that the exhaust is not getting hot enough to burn moisture, such as the backbox. The moisture would then sit inside the wrap and can make lower grades of metal rust over time.
Q. Will exhaust wrap crack my exhaust?
There is a common myth that exhaust heat wrap will crack manifolds. This has happened in the past but is more down to the material of the manifold, not the wrap.
Exhaust heat wrap will retain as much heat in the manifold as possible, and if moisture and heat is held in a cheap stainless steel manifold, it can cause a hairline crack. If your manifold is made from high-grade stainless steel, you will not have any problems.
Q. Does exhaust wrap increase your horsepower?
The wrap itself does not increase horsepower, but keeping the heat in the exhaust manifold will let the gases flow faster. The reduction in heat leaving the exhaust manifold can reduce the intake air temperature, which can increase horsepower due to a colder flow of air into the engine.
Exhaust heat wrap also protects components close to the heat source and can prevent wiring, etc., from melting. Head to our ultimate exhaust wrap guide for a full explanation and the benefits.
Products Used In This Guide
We have used a few products we sell in this guide, so if you are interested and have not already bought your heat wrap or need extra supplies, we have loads available in stock.
On mobile head to the products at the bottom, or the floating bar to the right hand side on desktop.
Conclusion
Now that you have reached the end of the guide, you should know how to install exhaust heat wrap and best practices to get the most out of your wrap.
If you have decided to click on any of the related product links in this guide, then we have a specific discount code for our blog readers; use the code:
BLOG5
At the checkout, get a 5% discount on the entire order!
Thank you for reading, and make sure to read some of our other related articles if they are useful for you:
- Exoracing exhaust wrap calculator
- The ultimate exhaust wrap guide
- How to install AN fittings to Rubber braided hose
- What is a turbo blanket?
- How to install titanium intake exhaust studs
Mini Din Plug S26062,Mini Din Jack S26062,Plug Mini Din S26062
Wenzhou Hesheng Electronic Co., Ltd. , https://www.heshengelec.com